At Tonchant, we believe the art of brewing coffee should be something everyone can enjoy and master. For coffee lovers who want to dive into the world of artisanal brewing, pour-over coffee is a great way to do it. This method allows for greater control over the brewing process, resulting in a rich, flavorful cup of coffee. Here’s a step-by-step guide for beginners who want to master pour-over coffee.
1. Gather your equipment
To start making pour-over coffee, you’ll need the following equipment:
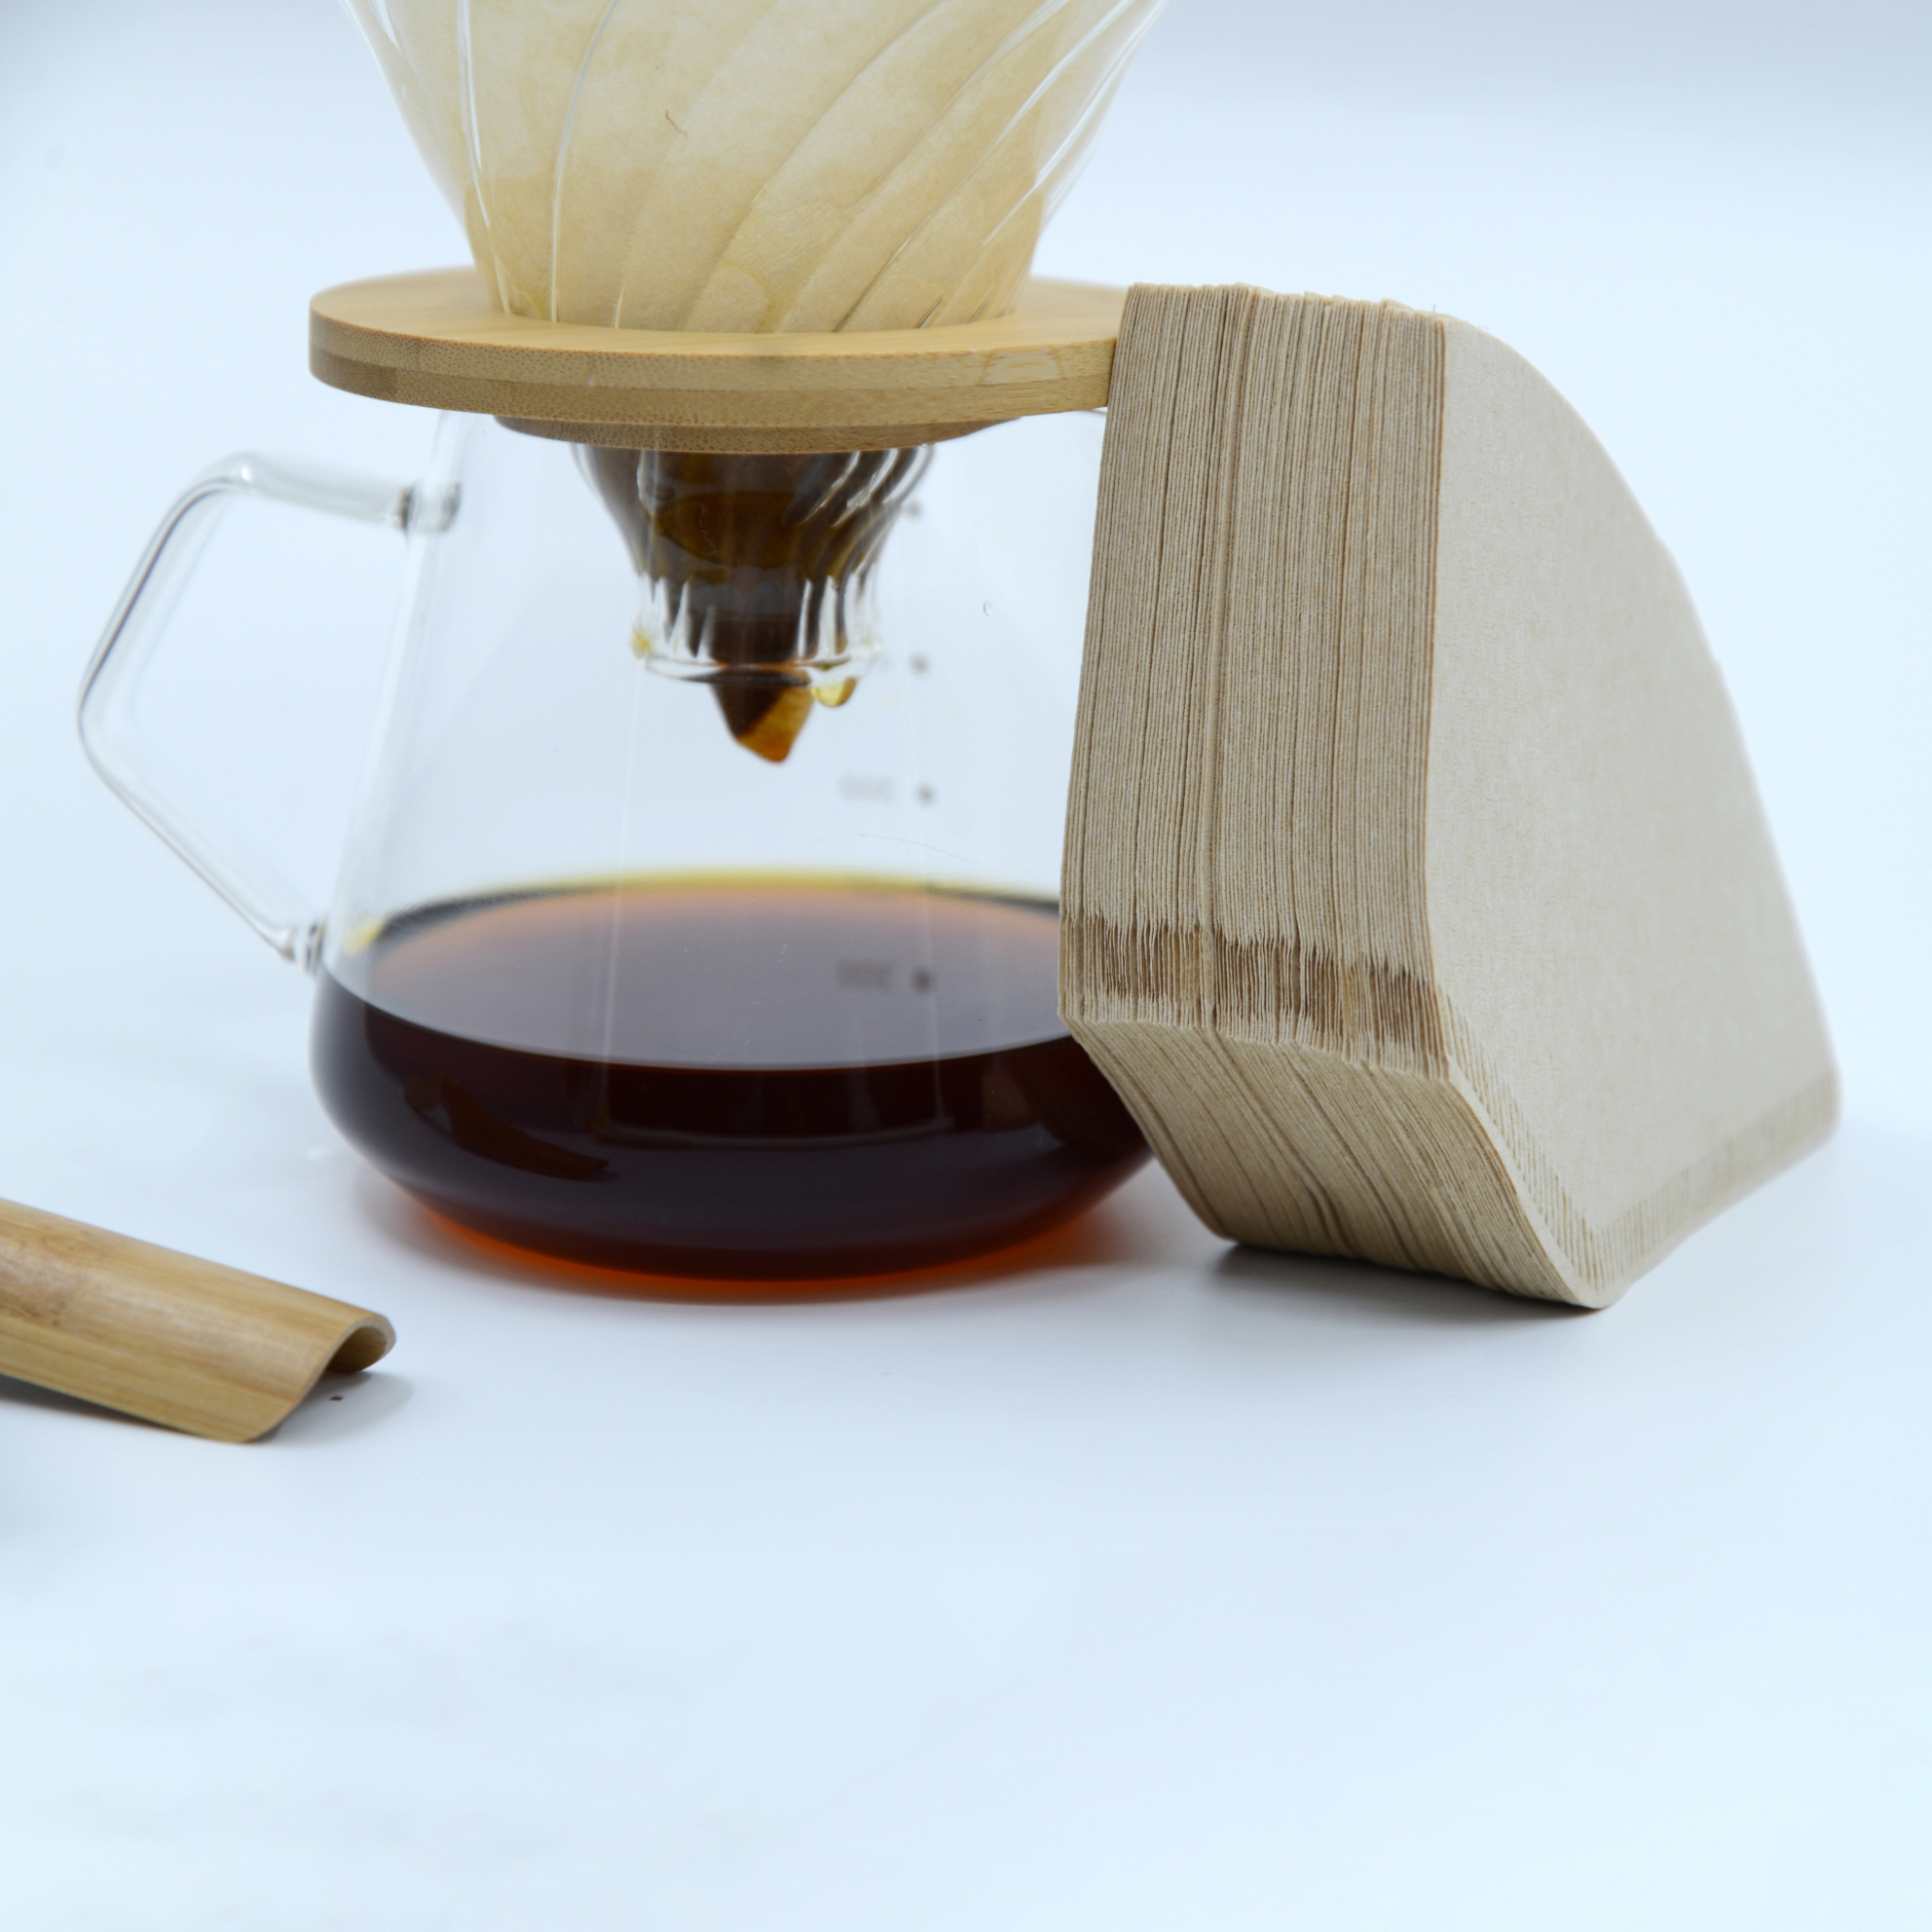
Pour drippers: devices like the V60, Chemex or Kalita Wave.
Coffee Filter: A high-quality paper filter or a reusable cloth filter designed specifically for your dripper.
Gooseneck Kettle: A kettle with a narrow spout for precise pouring.
Scale: Accurately measures coffee grounds and water.
Grinder: For a consistent grind size, it is best to use a burr grinder.
Fresh Coffee Beans: High quality, freshly roasted coffee beans.
Timer: Keep track of your brewing time.
2. Measure your coffee and water
The ideal coffee to water ratio is crucial for a balanced cup of coffee. A common starting point is 1:16, which is 1 gram of coffee to 16 grams of water. For a single cup you can use:
Coffee: 15-18 grams
Water: 240-300 grams
3. Ground coffee
Grind coffee beans before brewing to maintain freshness. For pouring, a medium-coarse grind is usually recommended. The texture of the grind should be similar to table salt.
4. Heating water
Heat the water to approximately 195-205°F (90-96°C). If you don’t have a thermometer, bring the water to a boil and let it sit for 30 seconds.
5. Prepare filter and dripper
Place the coffee filter into the dripper, rinse it with hot water to remove any paper smell and preheat the dripper. Discard rinse water.
6. Add coffee grounds
Place the dripper over a cup or carafe and add ground coffee to the filter. Gently shake the dripper to level the coffee bed.
7. Let the coffee bloom
Start by pouring a small amount of hot water (about twice the weight of the coffee) over the coffee grounds so that it saturates evenly. This process, called “blooming,” allows the coffee to release trapped gases, thereby enhancing the flavor. Let it bloom for 30-45 seconds.
8. Pour in a controlled manner
Begin pouring the water in a slow circular motion, starting in the center and moving outward, then back to the center. Pour in stages, letting the water flow over the ground, then add more. Maintain a steady pouring speed to ensure even extraction.
9. Monitor your brewing time
Total brewing time should be around 3-4 minutes, depending on your brewing method and personal taste. If the brew time is too short or too long, adjust your pouring technique and grind size.
10. Enjoy coffee
When the water flows through the coffee grounds, remove the dripper and enjoy freshly brewed hand-brewed coffee. Take your time to savor the aroma and flavor.
Tips for success
Experiment with ratios: Adjust the coffee to water ratio to suit your taste preferences.
Consistency is key: Use a scale and timer to keep your brewing process consistent.
Practice makes perfect: don’t get discouraged if your first few attempts aren’t perfect. Practice and adjust the variables to find your ideal coffee.
in conclusion
Pour-over coffee is a beneficial brewing method that offers a way to make the perfect cup of coffee with your own hands. By following these steps and experimenting with variables, you can unlock a world of rich, complex flavors in your coffee. At Tonchant, we offer high-quality coffee filters and drip coffee bags to support your brewing journey. Explore our products and enhance your coffee experience today.
Happy brewing!
warm regards,
Tongshang team
Post time: Jun-04-2024